Welcome to the GardePro A3S Trail Camera manual․ This guide helps you master the advanced features of this high-performance wildlife surveillance camera, designed for superior image capture and reliability․
Overview of the GardePro A3S Trail Camera
The GardePro A3S Trail Camera is a cutting-edge, next-generation scouting camera designed for wildlife monitoring and property surveillance․ It captures stunning 32MP images and 1296P HD video, ensuring crisp detail in every shot; With a rapid 0․1-second trigger speed and 100ft no-glow night vision, it excels in detecting and recording motion effectively, even in low-light conditions․ Built for durability, the camera features a weather-resistant design and user-friendly controls․ Its advanced sensors and high-quality lens make it ideal for outdoor use, providing reliable performance in various environments․ Whether for hunting, wildlife observation, or security, the GardePro A3S offers a robust solution for capturing clear and precise footage․
Key Features of the GardePro A3S Trail Camera
The GardePro A3S Trail Camera features 32MP resolution, 1296P HD video, 100ft no-glow night vision, and a 0․1-second trigger speed for exceptional wildlife monitoring․
32MP Resolution and 1296P HD Video
The GardePro A3S Trail Camera delivers exceptional image quality with its 32MP resolution, capturing crisp and detailed photos of wildlife․ The 1296P HD video recording ensures smooth and high-quality footage, even in low-light conditions․ This combination allows for clear identification of animals, making it ideal for surveillance and outdoor monitoring․ The camera’s advanced sensor and lens work together to provide vibrant colors and sharp images, enhancing your wildlife observation experience․ Whether you’re tracking game or monitoring property, the A3S’s imaging capabilities ensure you never miss a moment․
100ft No Glow Night Vision
The GardePro A3S Trail Camera features an impressive 100ft no-glow night vision, ensuring that wildlife remains undisturbed while capturing clear images in the dark․ Using advanced infrared technology, the camera avoids the red glow common in other models, making it stealthy and effective for nighttime surveillance․ This feature is particularly useful for monitoring sensitive areas without alarming animals․ The camera’s ability to function in low-light conditions is enhanced by its high-quality sensors, providing well-illuminated photos even in complete darkness․ This makes the A3S an excellent choice for 24/7 wildlife monitoring, delivering reliable results day and night․
0․1 Seconds Trigger Speed
The GardePro A3S Trail Camera boasts an ultra-fast trigger speed of 0․1 seconds, enabling it to capture images almost instantly when motion is detected․ This rapid response ensures that even fast-moving subjects, such as deer or birds, are caught clearly and without blur․ The quick trigger speed enhances the camera’s efficiency in wildlife surveillance, reducing the likelihood of missing critical moments․ This feature makes the A3S particularly effective for monitoring active animals or securing property with precise and timely image capture․ Its speed and reliability make it a standout choice for both professional and amateur wildlife enthusiasts seeking accurate and immediate results․
Installation and Setup
Installing and setting up your GardePro A3S Trail Camera is straightforward․ Choose a suitable location with clear visibility, format the SD card before first use, and secure the camera using the mounting strap provided․ Ensure proper alignment and stability for optimal performance․ Refer to the manual for detailed steps to complete the setup successfully․
Physical Installation and Placement Tips
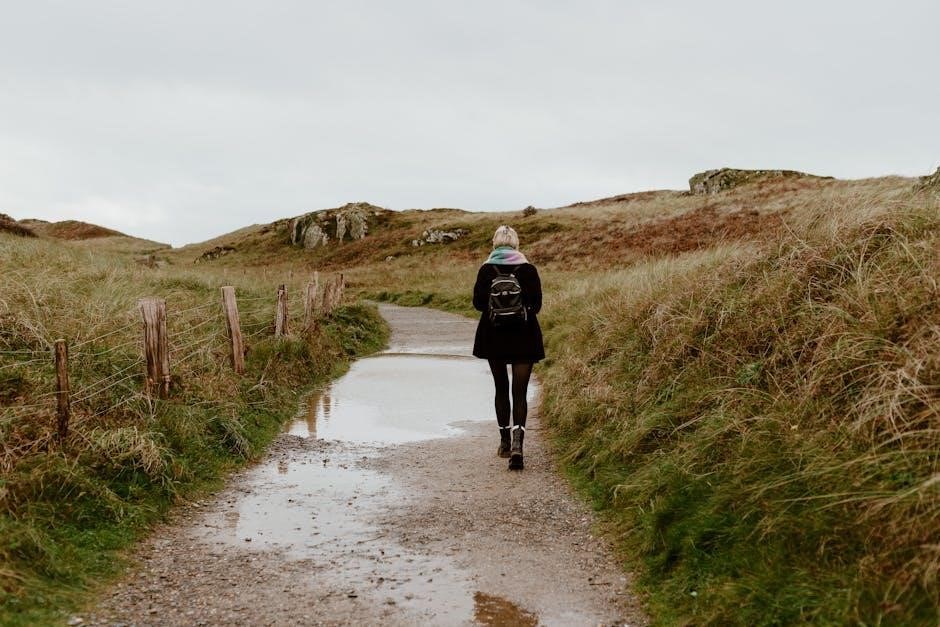
For optimal performance, install your GardePro A3S Trail Camera in an area with clear visibility of the target zone․ Mount the camera at a height of 3-4 feet to minimize tampering and ensure a good vantage point․ Use the provided mounting strap to secure it to a tree or post, ensuring stability․ Position the camera facing north to avoid direct sunlight, which can cause overexposure․ Clear any obstructions like branches or leaves to ensure unobstructed motion detection․ Level the camera to prevent tilting and ensure accurate trigger activation․ Choose a spot with adequate shade for better night vision performance․
Initial Setup Steps
Start by formatting the SD card directly in the camera before first use to ensure compatibility․ Insert 4-8 AA batteries, ensuring they are fully charged or new for optimal performance․ Power on the camera and navigate to the settings menu to set the date, time, and timezone․ Enable motion detection and adjust sensitivity based on your needs․ Test the motion detection function to ensure it triggers correctly․ Refer to the manual for detailed instructions on configuring advanced settings like video resolution and photo quality․ Follow these steps to ensure your GardePro A3S Trail Camera is ready for reliable wildlife monitoring․ Proper setup ensures the best performance and image quality․
Mounting Strap and Accessories
The GardePro A3S Trail Camera comes with a durable mounting strap for easy installation on trees or poles․ This adjustable strap ensures secure and stable placement, allowing you to position the camera effectively for wildlife monitoring; Use the included USB cable for file transfers and updates․ For added convenience, consider optional accessories like a tree mount or tripod for flexible deployment․ Always ensure the strap is tightly secured to prevent camera movement or damage․ Proper use of these accessories enhances the camera’s performance and ensures long-term reliability in the field․ Follow the manual’s guidelines for installation to maximize the camera’s functionality and image quality․ Proper setup is key to achieving the best results․
Using the Camera
Mastering the GardePro A3S Trail Camera involves understanding its motion detection, configuring settings, and positioning it for optimal wildlife surveillance․ Follow the manual for best practices․
Understanding Motion Detection
The GardePro A3S Trail Camera features advanced motion detection, triggered by movement within its field of view․ The camera uses PIR (Passive Infrared) sensors to detect heat and motion․ Sensitivity can be adjusted to minimize false triggers․ Proper placement is key; position the camera at waist height and avoid direct sunlight․ Ensure the detection zone covers the area of interest․ Motion detection range varies depending on environmental conditions․ For optimal performance, clear obstructions and adjust settings according to the environment․ This feature ensures efficient wildlife surveillance, capturing images or videos when motion is detected, making it ideal for monitoring wildlife activity effectively․
Configuring Camera Settings
Configuring the GardePro A3S Trail Camera settings ensures optimal performance for your surveillance needs․ The camera offers customizable options, including photo and video modes, resolution (up to 32MP), and video quality (1296p)․ Adjust the trigger interval to capture images at set intervals or use the motion detection feature․ Sensitivity levels can be fine-tuned to reduce false triggers․ Additional settings include timestamp, date, and moon phase stamps․ Use the GardePro Mobile app to remotely configure settings via Wi-Fi for added convenience․ Refer to the manual for detailed instructions on adjusting these settings to maximize your camera’s performance and ensure satisfaction with its functionality․
Best Practices for Wildlife Surveillance
For effective wildlife surveillance with the GardePro A3S Trail Camera, position it in areas with high animal traffic, such as game trails or near water sources; Mount the camera at a height of 2-3 feet to avoid false triggers from small animals․ Use the no-glow night vision to avoid spooking wildlife․ Regularly check the camera but minimize disturbances to prevent alarming animals․ Adjust the motion sensitivity to reduce false triggers from wind or vegetation․ Ensure the camera’s field of view is clear of obstructions․ Use photo mode for detailed images and video mode for capturing behavior․ Enable timestamp and date stamps to track animal activity patterns․
Troubleshooting Common Issues
This section provides solutions for common issues with the GardePro A3S, such as night vision problems, motion detection malfunctions, and firmware update complications․ Refer to the manual for detailed fixes․
Resolving Night Vision Problems
Night vision issues, such as over-exposure or under-exposure, can be resolved by adjusting settings or repositioning the camera․ Ensure the camera is placed away from direct sunlight and obstructions․ Format the SD card in the camera before first use to avoid compatibility issues․ Check the IR LED brightness setting and adjust according to ambient light conditions․ If night vision remains poor, update the firmware to the latest version․ Consult the manual for detailed instructions on adjusting sensitivity and IR settings․ Proper placement and configuration are key to achieving optimal night vision performance with the GardePro A3S trail camera․
Fixing Motion Detection Issues
Experiencing motion detection issues with your GardePro A3S? Ensure the PIR sensor is clean and free from debris․ Adjust the motion sensitivity settings to match your environment, as high sensitivity may cause false triggers․ Check the detection zone and ensure it’s not obstructed by objects․ Update the camera’s firmware to the latest version for improved performance․ Test the motion detection function by walking in front of the camera to ensure it triggers correctly․ Refer to the manual for detailed instructions on configuring sensitivity and detection zones․ Proper calibration and setup are essential for reliable motion detection with the GardePro A3S trail camera․
Firmware Upgrade Instructions
Upgrading the firmware on your GardePro A3S trail camera ensures optimal performance and resolves potential bugs․ Begin by downloading the latest firmware from the GardePro official website․ Format an SD card in the camera to prepare for the update․ Place the downloaded firmware file on the SD card’s root directory․ Insert the SD card into the camera and navigate to the menu to select the firmware update option․ Follow on-screen instructions to complete the process․ Do not turn off the camera during the update․ Once done, restart the camera and verify the firmware version in the settings․ Refer to the manual for detailed steps and troubleshooting tips․
Accessories and Maintenance
The GardePro A3S trail camera supports compatible SD cards up to 128GB and includes a mounting strap for secure installation․ Regularly clean the lens and housing to ensure optimal performance and longevity․ Replace batteries as needed, and update firmware periodically for improved functionality․ Use genuine GardePro accessories to maintain warranty and reliability․ Refer to the manual for detailed maintenance and accessory compatibility guidelines to keep your camera operating at its best․
Compatible SD Cards and Accessories
The GardePro A3S trail camera supports SD, SDHC, and SDXC cards with a maximum capacity of 128GB․ For optimal performance, use Class 10 or U3-rated SD cards․ The camera comes with a mounting strap and USB cable, while additional accessories like security locks and spare batteries can enhance functionality․ Ensure all accessories are genuine or compatible with GardePro specifications to maintain warranty and performance․ Refer to the manual for a full list of approved accessories and SD card recommendations to ensure reliable operation and data storage․
Regular Maintenance Tips
Regular maintenance ensures optimal performance of your GardePro A3S trail camera․ Clean the camera lens and PIR sensor with a soft cloth to avoid dust or debris interference․ Check and replace batteries as needed, ensuring they are fully charged before deployment․ Format the SD card in the camera before first use and periodically to prevent data corruption․ Inspect the mounting strap and accessories for wear and tear, replacing them if necessary․ Keep the camera firmware updated to the latest version for improved functionality and bug fixes․ Regularly review and adjust settings to suit environmental conditions for reliable wildlife monitoring․