
This manual provides essential guidance for installing the Honeywell Pro 3000 Series Thermostat, ensuring proper setup and operation․ It covers system requirements, installation steps, and troubleshooting tips to help users achieve optimal performance and energy efficiency․
1․1 Overview of the Honeywell Pro 3000 Series Thermostat
The Honeywell Pro 3000 Series Thermostat is a programmable, non-primera linea digital thermostat designed for precise temperature control․ It features a user-friendly interface with a large, easy-to-read display and flexible scheduling options․ This thermostat is compatible with various heating and cooling systems, including gas, oil, electric, and heat pumps, offering efficient energy management․ Its advanced settings allow customization to suit different lifestyles and preferences, ensuring optimal comfort and energy savings․
1․2 Importance of Proper Installation
Proper installation of the Honeywell Pro 3000 Series Thermostat is crucial for ensuring reliable performance, energy efficiency, and safety․ Incorrect wiring or setup can lead to system malfunctions, increased energy bills, or even equipment damage․ Adhering to the manual’s guidelines guarantees optimal operation, extends the product’s lifespan, and maintains warranty validity, providing peace of mind and long-term savings for homeowners․
System Requirements and Compatibility
The Honeywell Pro 3000 Series is compatible with gas, oil, electric, and heat pump systems, operating on 20-30 Vac with a running current of 0․02-1․0 A․
2․1 Compatible Heating and Cooling Systems
The Honeywell Pro 3000 Series is designed to work with various heating and cooling systems, including gas, oil, electric, and heat pump configurations․ It supports single-stage and multi-stage systems, ensuring flexibility for different home setups․ Proper configuration during installation is crucial to match the system type, whether it’s a gas furnace, heat pump, or electric heating system, to ensure optimal performance and energy efficiency․ This compatibility allows users to maintain precise temperature control across diverse HVAC setups․
2․2 Electrical Requirements
The Honeywell Pro 3000 Series requires a 20-30 Vac power supply for proper operation․ It supports systems with a running current of 0․02-1․0 A for heating, cooling, and auxiliary functions․ The thermostat is compatible with single-stage and multi-stage systems, ensuring reliable performance across various electrical configurations․ Always refer to the product manual for specific wiring instructions to maintain safety and system integrity․
Pre-Installation Steps
Pre-installation steps ensure a smooth setup․ Check the warranty, review the manual, and gather all required tools before starting the installation process․
3․1 Checking the Warranty and Product Information
Verify the Honeywell Pro 3000 Series thermostat’s warranty and product details․ The 5-year limited warranty covers defects in materials and workmanship․ Ensure the product is genuine and suitable for your system․ Review the warranty terms and conditions to understand coverage and exclusions․ This step ensures compliance and protects your investment in the Honeywell Pro 3000 thermostat․
3․2 Understanding the Installation Process
Begin by removing the wallplate from the thermostat and mounting it level on the wall․ Pull wires through the wire hole and position the wallplate accurately․ Follow the manual’s instructions for configuring the system, ensuring compatibility with your heating or cooling setup; Programming the thermostat and setting temperature ranges (40-90°F for heat, 50-99°F for cool) ensures proper operation․ Always test the system post-installation to confirm functionality․
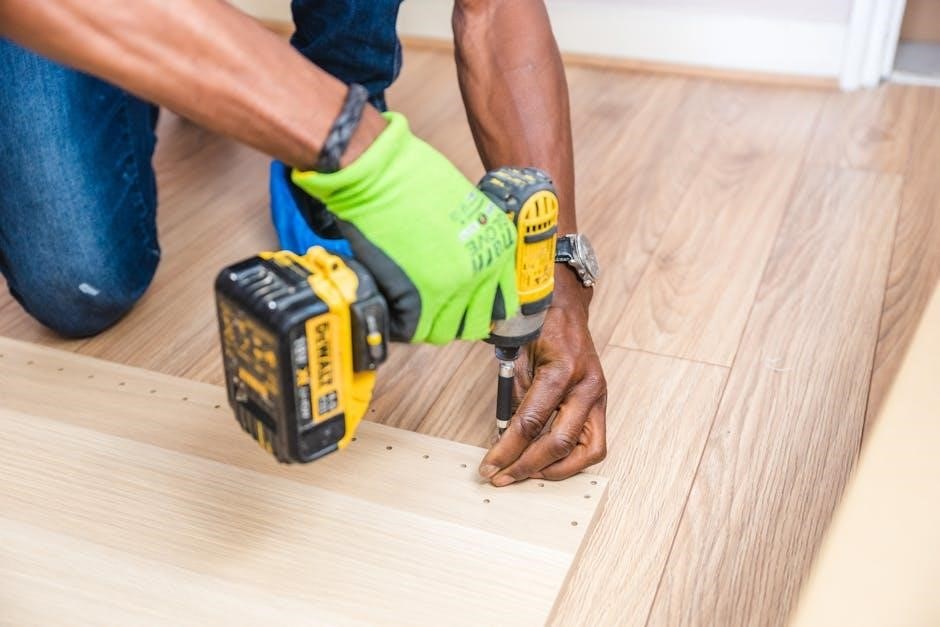
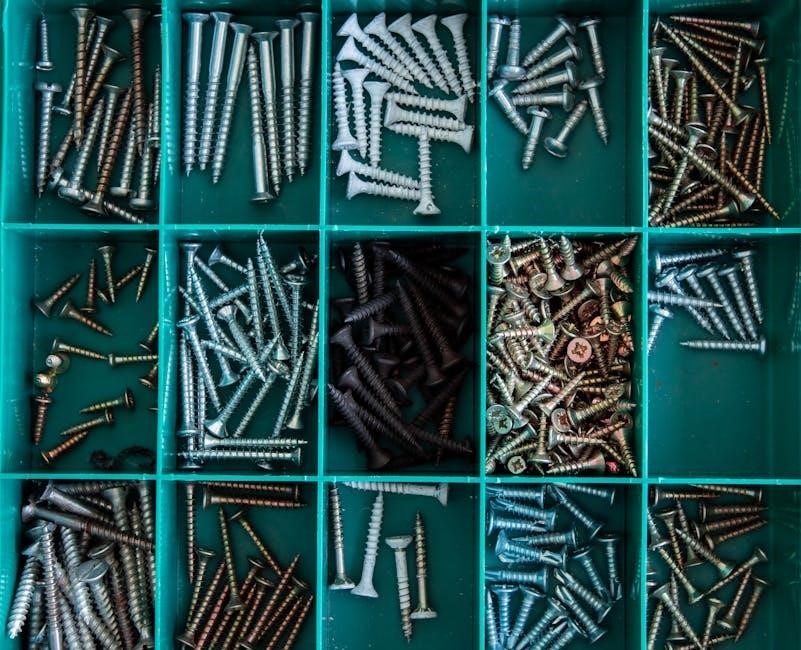
3․3 Gathering Necessary Tools and Materials
To ensure a smooth installation, gather essential tools like a screwdriver, pliers, and wire strippers․ Materials needed include compatible wires, fasteners, and mounting hardware․ Refer to the manual for specific requirements based on your system type․ Ensure all components are compatible with the Honeywell Pro 3000 Series to avoid installation issues․ Proper preparation prevents delays and ensures a successful setup․

Installation Process
The installation involves mounting the wallplate, connecting wires, and configuring the thermostat․ Ensure all connections are secure and follow the manual’s guidelines for proper setup and safety․
4․1 Wallplate Installation and Mounting
Begin by removing the wallplate from the thermostat and pulling the wires through the wire hole․ Position the wallplate on the wall, ensuring it is level, and mark the hole positions with a pencil․ Drill pilot holes if necessary and secure the wallplate using the provided screws․ Ensure the wallplate is firmly mounted and aligned properly for the thermostat to fit seamlessly․ This step is crucial for a stable and accurate installation․
4․2 Wiring Connections and Configuration
Connect the wires to the appropriate terminals on the wallplate, ensuring correct configuration for your heating/cooling system․ Refer to the wiring diagram in the manual for specific terminal assignments․ Secure all connections tightly to prevent loose wires․ The system operates at 20-30 Vac, with a running current of 0․02-1․0 A․ Configure the fan operation switch based on your system type (gas/oil or heat pump/electric)․ Always follow safety precautions when handling electrical components․
4․3 Thermostat Mounting and Setup
Mount the thermostat to the wallplate by gently attaching it, ensuring a secure connection․ Pull wires through the wallplate’s wire hole, position it level, and mark hole locations with a pencil․ Secure the wallplate to the wall using provided hardware․ Once mounted, press and hold the UP and DOWN buttons to begin setup, configuring settings like temperature ranges and fan operation based on your system type․ Test the system to ensure proper functionality․
Post-Installation Configuration
Configure the thermostat to match your heating/cooling system, customize features, and set temperature ranges․ Press and hold the UP and DOWN buttons to begin setup, ensuring proper functionality․
5․1 Programming the Thermostat
Program the Honeywell Pro 3000 by pressing and holding the UP and DOWN buttons to access the menu․ Set temperature ranges (40-90°F for heat, 50-99°F for cool) and scheduling preferences․ Ensure settings are within acceptable limits for optimal performance․ Review configurations to confirm accuracy before saving․ This process ensures efficient operation and customized comfort, aligning with your heating and cooling needs․
5․2 Setting Up Advanced Features
Advanced features like adaptive recovery and smart response can be enabled for enhanced performance․ Use the menu to configure settings such as temperature limits and fan operation․ Ensure remote sensor compatibility if applicable․ These features optimize energy use and comfort․ Refer to the manual for detailed instructions on activating and customizing these settings for your specific system needs․
Troubleshooting Common Issues
Common issues include the system not responding or temperature settings not changing․ Check wiring, power supply, and ensure settings are within acceptable ranges for proper operation․
6․1 Heating or Cooling System Does Not Respond
If the heating or cooling system fails to respond, verify that the thermostat is properly powered and all wiring connections are secure․ Ensure the system switch is set correctly for your heating/cooling type․ Check circuit breakers and fuses․ If issues persist, consult the wiring diagram or contact Honeywell customer support for further assistance․
6․2 Temperature Settings Do Not Change
If temperature settings do not change, ensure the thermostat is set to the correct mode (Heat/Cool) and the setpoint is within acceptable ranges (Heat: 40-90°F; Cool: 50-99°F)․ Verify the system switch matches your heating/cooling type․ Check for manual overrides or locked settings․ If issues persist, reset the thermostat or consult the troubleshooting section for further guidance․

Technical Specifications
The Honeywell Pro 3000 Series operates within 32-120°F (0-48;9°C) and 5-90% non-condensing humidity․ Dimensions are 3-13/16″ H x 5-3/8″ W x 1-1/4″ D, requiring 20-30 Vac system voltage․
7․1 Operating Temperature and Humidity Ranges
The Honeywell Pro 3000 Series operates effectively within a temperature range of 32°F to 120°F (0°C to 48․9°C) and a relative humidity of 5% to 90% (non-condensing)․ These specifications ensure optimal performance and longevity of the thermostat․ Proper installation within these ranges is essential to maintain functionality and avoid potential damage from extreme environmental conditions․
7․2 Dimensions and System Voltage Requirements
The Honeywell Pro 3000 Series thermostat measures 3-13/16 H x 5-3/8 W x 1-1/4 D inches (97 mm H x 137 mm W x 32 mm D)․ It operates on a system voltage of 20-30 Vac (50/60Hz) with a running current of 0․02-1․0 A․ These specifications ensure compatibility with standard HVAC systems, allowing for seamless integration and reliable performance in various residential and commercial settings․
Warranty and Support Information
The Honeywell Pro 3000 Series is covered by a 5-year limited warranty from Resideo, excluding the battery․ For assistance, contact Honeywell Customer Support at 1-800-468-1502 or visit customer․honeywell․com․
8․1 Understanding the 5-Year Limited Warranty
The Honeywell Pro 3000 Series is backed by a 5-year limited warranty from Resideo, covering defects in materials and workmanship․ This warranty applies to the original purchaser and begins on the purchase date․ It excludes the battery and requires proof of purchase․ Repairs or replacements are at Resideo’s discretion during the warranty period․ For details, refer to the warranty section in the manual or contact Honeywell support․
8․2 Contacting Honeywell Customer Support
For assistance with the Honeywell Pro 3000 Series, visit customer․honeywell․com or call Honeywell Customer Care toll-free at 1-800-468-1502․ This resource provides troubleshooting, manuals, and dedicated support to address any installation or operational issues․ Representatives are available to help resolve concerns efficiently, ensuring your thermostat operates at peak performance․

Safety Precautions
Always turn off power before handling electrical components․ Follow intrinsic safety standards for hazardous areas and ensure proper grounding to prevent equipment damage or personal injury․
9․1 Handling Electrical Components Safely
Always turn off power before handling electrical components․ Verify the system is de-energized using a voltage tester․ Avoid contact with live wires to prevent shock․ Use insulated tools and ensure proper grounding․ Never bypass safety devices or ignore warnings․ Follow intrinsic safety standards for hazardous areas․ Route wires correctly and avoid overloading circuits․ Disconnect the power source before starting installation or maintenance to ensure safe working conditions and prevent equipment damage or personal injury․
9․2 Intrinsic Safety Considerations
Ensure all components meet intrinsic safety standards for hazardous locations․ Use approved wiring methods and maintain proper grounding․ Install galvanic isolators or zener barriers to prevent ignition risks․ Keep equipment within specified temperature and voltage ratings․ Regularly inspect wiring and connections to avoid degradation․ Adhere to zone classifications (0, 1, 2, 20, 21, 22) for safe operation in explosive environments․ Always follow manufacturer guidelines for intrinsic safety compliance․
Successful installation ensures optimal performance, energy efficiency, and comfort․ Follow the manual carefully to achieve precise temperature control and reliability in your heating and cooling systems․
10․1 Summary of Key Installation Steps
Begin by removing the wallplate and mounting it securely․ Connect the wires according to the system requirements, ensuring proper configuration․ Mount the thermostat and power it on․ Program the temperature settings and customize features as needed․ Test the system to ensure all components function correctly․ Always follow safety guidelines and refer to the manual for specific instructions and troubleshooting tips to guarantee a successful installation․
10․2 Final Check and System Testing

After installation, perform a final check to ensure the thermostat is securely mounted and all wires are correctly connected․ Verify the temperature settings and test the heating and cooling functions to confirm proper operation․ Check the display for any error messages and ensure all advanced features are enabled․ Finally, review the system to ensure it meets your comfort and energy-saving preferences before completing the setup․